For a YouTube Creator, the only thing more important than making a video is knowing how to upload it properly. Sound daunting? Don’t stress! We’ve created this guide to walk you through setting up your profile, customizing your video, and making the most of YouTube’s uploading features.
Step 1: Begin at the beginning
Uploading a video to YouTube is simple, straightforward, and free, but it’s essential you get it right. First things first, you’ll need a Google account. Set up a new account if you don’t already have one, this can be used across all Google platforms, including Gmail, Gsuite, and Search.
Step 2: Get ready, world
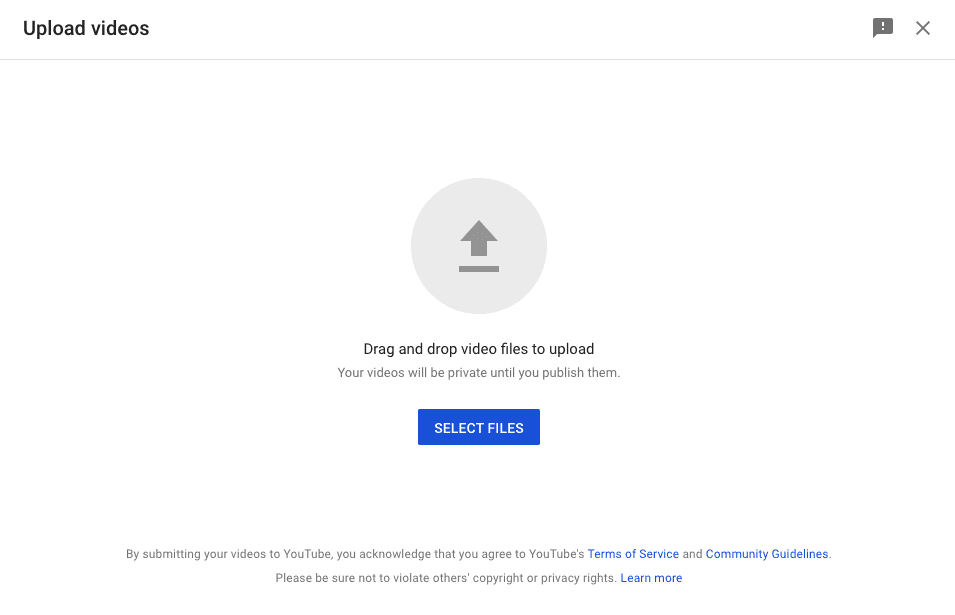
You’ve spent hours recording and editing your masterpiece; now, it’s time to share it with the world. After signing into YouTube, simply click the “Create Video” or “Post Video” camera button at the top right of the webpage. If you’re using the mobile app, tap your profile photo, click “Your channel” and hit the camera thumbnail. You also have the chance to “Go live,” and stream in real-time, or “Record” a video. Hit “Select a video” to locate the file you want to upload from a carousel of videos on your phone or tablet’s camera roll. Easy!

Step 3: The basics
YouTube has certain limitations you should be aware of. By default, you can upload a video of up to 15 minutes. If you want to upload a longer video (the maximum is 12 hours), you’ll need to verify your account first.
Your video must be compatible with YouTube, which accepts the following file formats: MOV, MPEG4, MP4, AVI, WMV, MPEG-PS, FLV, 3GPP, WebM, DNxHR, ProRes, CineForm and HEVC.
Step 4: Choose a visibility setting
Not ready to share your bathroom karaoke session with 1.5 billion users? It’s time to think about visibility settings. If you click “Public,” your video will be published on YouTube for anyone to see. Only people with a hyperlink can access “Unlisted,” ideal for rough cuts or early versions of your content. “Private” means the video is totally secure, only accessible to you. “Scheduled” is a nifty little tool that allows you to publish things in the future, you only need to set a date and time.

Step 5: Making progress
This is the moment you’ve been waiting for! While the video uploads to YouTube, you can track its progress on the status bar. Once it’s uploaded, the video needs to process; you can also follow this on the status bar.
Step 6: Time to get meta
The next step is crucial if you want to see results from your video. Relevant keywords in your video titles, descriptions, and meta-data help YouTubers discover your content. The more relevant the information in your description, the better it’ll rank on YouTube’s search engine. Using a keyword like ‘Travel vlog” is like casting a big fishing net into the open sea; you’re unlikely to get much bite.
Creators compete for the same keywords, and your video could get lost among millions of other results. Long-tail keywords help you hook a more precise audience. For example, YouTubers Haylsa & Kyle’s “Is this the best place in Europe? | Amalfi Travel vlog” targets people interested in the specific European travel content they’re actually offering.

Step 7: Looks are important
Once you’ve nailed the perfect title, think about the visual identity of your video. YouTube auto-generates three frames to use as the video’s thumbnail picture. This thumbnail will appear on your channel, playlists, and wherever your video is shared or embedded (including your socials,) so pick wisely. Not happy with the choice? Upload an image of your own! The recommended size is 1280×720 pixels. Choose something that looks professional, will stand out in the search results for all the right reasons and resonates with your audience.

Step 8: Success!
Congrats, you’ve uploaded your first video! Satisfying, right? Now the video is published, you can access the video’s page where YouTubers like, comment, and share your content.
To the video owner, this page offers a range of advanced settings. You can add annotations, subtitles, tags, location, paid promotions, or restrict age-sensitive content. This is where you access the video’s analytics, which offer valuable insight into how your video is performing.
Face the music

Let’s face it, claims-free music isn’t hard to find. But when you’ve spent hours perfecting your video, bland, repetitive music just isn’t going to cut it. Now you’ve learned how to upload a video to YouTube, think about optimising the audio experience too. Unlike YouTube’s free Audio Library, Lickd offers mainstream music for YouTube videos from real songs from real labels. Sign up and get 25% off your first track to get you started.