If you want your videos to stand out for all the best reasons, make sure you’re paying as much attention to your audio as you do your video. When your content sounds as good as it looks, viewers will pay attention. Here are five things you’ll definitely want to know when using Final Cut Pro for audio editing.
1. Keep your timeline clean: only add what you need
Depending on the video editor you’re using, you may be able to save yourself some work. If you’re adding video to your timeline, then manually bringing down the volume for clips you don’t need audio from, there’s a much easier way to do this.
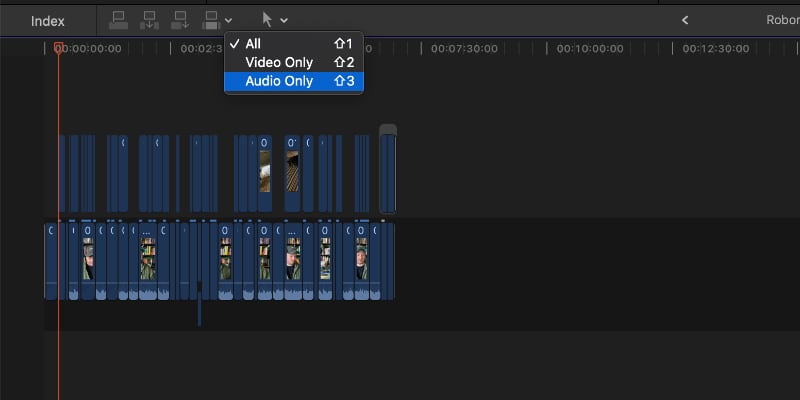
Just above the timeline, to the left of the cursor icon, you’ll see a dropdown menu. Click this and you can select to add both audio and video, video only, or audio only. You can also hit Shift + 1 for both, Shift + 2 for video only, or Shift + 3 for audio only.
If you’ve got a video where the primary footage is someone talking and you want to occasionally overlay other footage, this method works great. Just pull in the audio so you don’t have to worry about unwanted sounds from other audio clips.
2. Check your levels, but don’t set and forget
Keeping an eye on your audio levels is important to making sure that watching your video is an enjoyable experience. You want it to be loud enough that your viewers can hear what’s going on, but not so loud that you burst your subscribers’ eardrums and they drop their new phone from the shock!
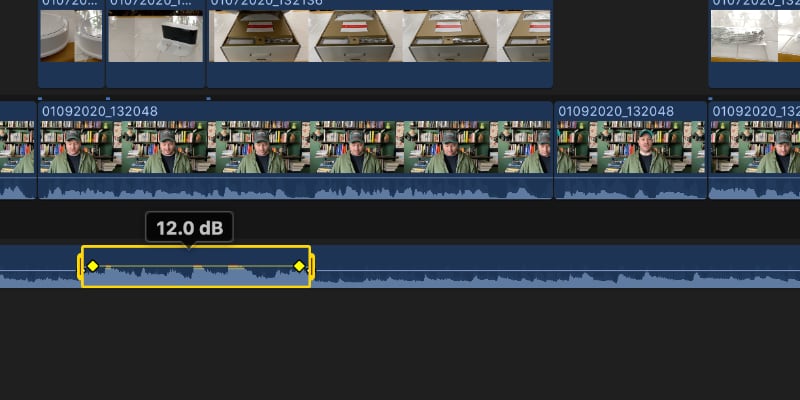
To help you manage your audio levels, use Final Cut Pro’s audio editing keyframing feature, which can help you adjust the volume of certain areas of the audio. If you need to raise the volume of a quiet section or do the opposite, keyframing is perfect. You don’t even have to set keyframes one at a time, Final Cut makes this simple and easy with the Range tool.
Click the cursor icon at the top of the timeline and click Range Selection. You can also just hit the R key to go into Range Selection mode. Select the part of audio you need to adjust, then pull the audio level (represented by the line in the middle of the audio clip) up or down. Then hit A to go back to the normal Select tool.
3. Don’t forget about Final Cut Pro’s built-in sound effects
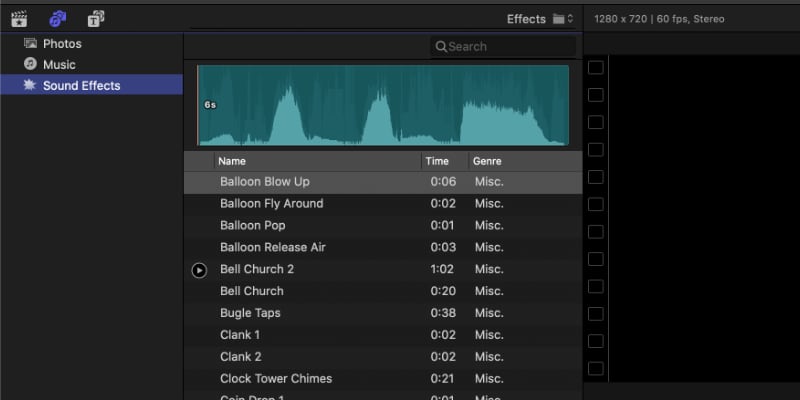
One handy thing that you won’t find in every editor is Final Cut Pro’s built-in lineup of sound effects. You can find these by going to the very top-left of the window and clicking on the icon for Photos and Audio.
In this menu, you’ll see Sound Effects. Click on this and you’ll see a whole library of sound effects to add to your video. Just click a given sound effect and drag it to your timeline.
If you don’t see anything here, you might need to download them. To do this, go to the Final Cut Pro audio editing menu and select Download Additional content. This should get you quick and easy access to all the sound effects you’re looking for.
4. Forget the stock music
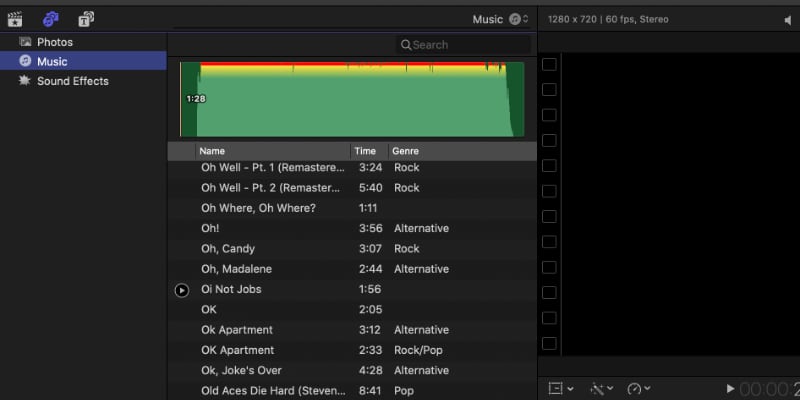
If you watch a lot of YouTube videos – and as a Creator, I’m guessing you do – you might have noticed that you hear the same boring music over and over again. Nothing says amateur like using the plain old stock music that comes with Final Cut. One of the easiest ways to level up your video is to make sure you have the sickest beats.
Finding great music that won’t get you copyright strikes on YouTube isn’t easy, or at least it didn’t used to be. Now, music licensing platform, Lickd, offers Creators a whole library of chart music for YouTube videos. This means nobody is going to come after you trying to keep your videos from making money.
Lickd even has music you’ve heard of, so if you’ve got the perfect song in mind, you don’t have to settle for something that kind of sounds like it.
5. Is music a focal point of your video? Edit to the beat
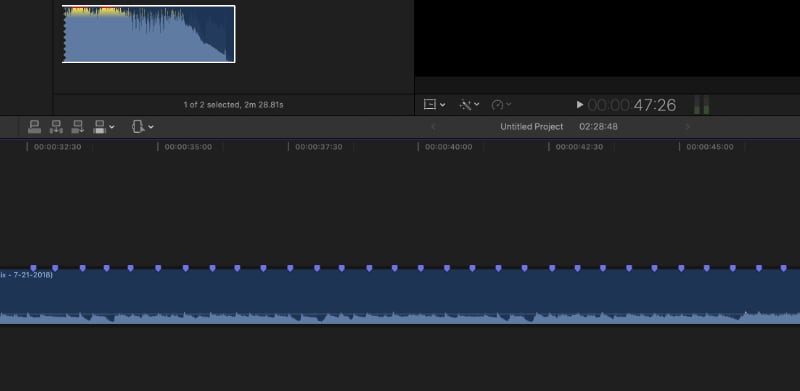
If you’re making a music video or a similar project where the music is key, you’ll want to edit on the beat for extra emphasis. Even for other projects this can be a cool way to help your video stand out. One easy way is to select your music track, hit play, then tap the M key to the rhythm of the beat. This gives you markers to use as guidelines for making your cuts.
This is just one way to edit on the beat in Final Cut. It also happens to be the simplest. If it’s not quite working for you, there are other third-party solutions, or if you don’t have great rhythm you can zoom in on the waveform and add markers wherever the wave peaks are the highest. Use whatever works for you.
Knowing how important audio is for creating compelling videos gives you a major advantage over plenty of other video creators. Want to keep it that way? Check out the rest of the blog and the Lickd tutorial channel for even more tips and tricks to make your videos stand out and sound great.
So now you know all about Final Cut Pro Audio Editing. But, what is Lickd?
Lickd offers the best music for Youtube videos that can help you stand out in a sea of content creators. With Lickd, you’ll get a customized quote that adjusts based on the size of your audience so you never pay too much. We’re here to build a long-term relationship, not make a quick buck. When you sign up for Lickd, you’ll be able to use well-known, lyric-filled songs, curated by genre, length, mood, and more. Plus, if you sign up today, you get 25% off your first track!